Last updated on March 29th, 2023 at 09:01 am
Humans have eaten and consumed nuts, seeds, grains, and legumes for thousands of years. Back then, these foods were soaked before eating them, and this was to promote easier digestion. Thanks to modern life, we have forgotten about this crucial step. Now we consume all these foods without taking the time to properly prepare grains, nuts, seeds, and legumes.
All nuts, seeds, grains, and legumes contain anti-nutrients that require neutralization. Nuts and seeds contain enzyme inhibitors that block digestion–which can negatively affect the body. Grains and legumes contain phytic acid that robs the body of essential minerals such as magnesium, calcium, copper, zinc, and iron. The overall impacts are harmful because of the frequency and quantity of these foods in the modern diet.
As we consume these foods over time (without the proper preparation), serious health issues like leaky gut, IBS (irritable bowel syndrome), and even autoimmune conditions can arise.
I decided to share this guide so that when we consume these foods (on occasion), we can prepare them properly to protect our guts.
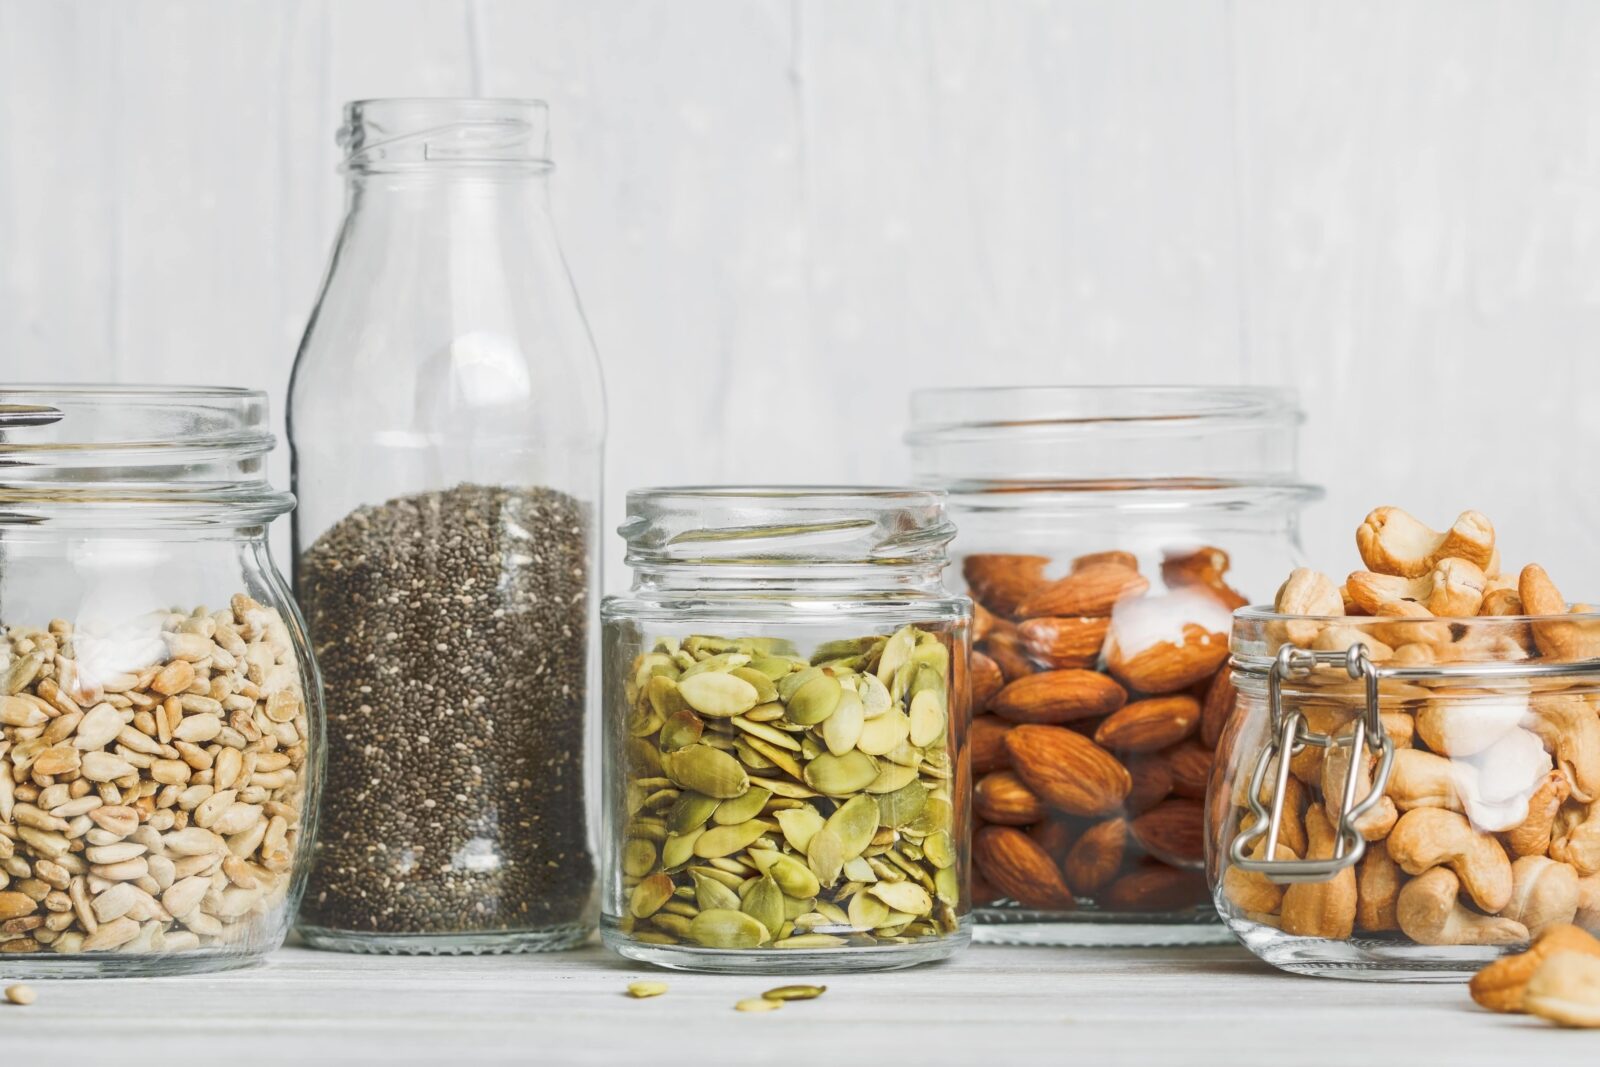
You might wonder how to properly prepare grains, nuts, seeds, and legumes.
It may even seem a little intimidating, but it is super simple; I will show you exactly how– and it pretty much just requires a little forethought. For example, I will soak my legumes when I take my meat out of the freezer for the following day’s meal, or I soak my nuts and seeds as soon as getting back from the grocery store, dehydrate them, and store them in glass jars in the freezer for when I need them.
Properly preparing grains, nuts, seeds, and legumes generally involves adding the food to a bowl, covering the food with water, adding a neutralizer, letting the food sit at room temperature for a while, and then draining.
If you decide to eat grains, legumes, nuts, and seeds, always follow the guidelines below to prepare them for optimal nutrition (bio-availability) and health.
I do not recommend overconsuming these foods and always advocate for a diet full of diversity.
How to soak grains
Quinoa: Place 2 cups of quinoa into a large mixing bowl and cover it with 6 cups of filtered water. Stir 1 tbsp of apple cider vinegar, fresh lemon juice, or whey. Cover and leave the bowl at room temperature for 24 hours. Drain, rinse, and cook as usual.
Rice + Millet: Place 2 cups of rice or millet in a large mixing bowl and cover with 2 cups of warm filtered water. Stir in 2 tbsp of apple cider vinegar, lemon juice, or whey. Cover the bowl and leave it at room temperature for about 7 hours. Drain, rinse, and cook as usual.
Oatmeal: Place 2 cups of oatmeal in a large mixing bowl and cover it with 2 cups of warm filtered water. Stir in 2 tbsp of apple cider vinegar, lemon juice, or whey. Cover and leave the bowl at room temperature for 7 to 24 hours. Drain, rinse, and cook as usual.
All Other Grains: place 2 cups of grains in a large mixing bowl and cover with 2 cups of warm filtered water. Stir in 2 tbsp of apple cider vinegar, lemon juice, or whey. Cover and leave the bowl at room temperature for 12-24 hours. Drain, rinse, and cook as usual or dry in a dehydrator.
My favorite way to prepare wheat properly is using fermentation. You can easily make a sourdough starter and use it for all baking needs; think loaves of bread, bagels, crackers, tortillas, etc.
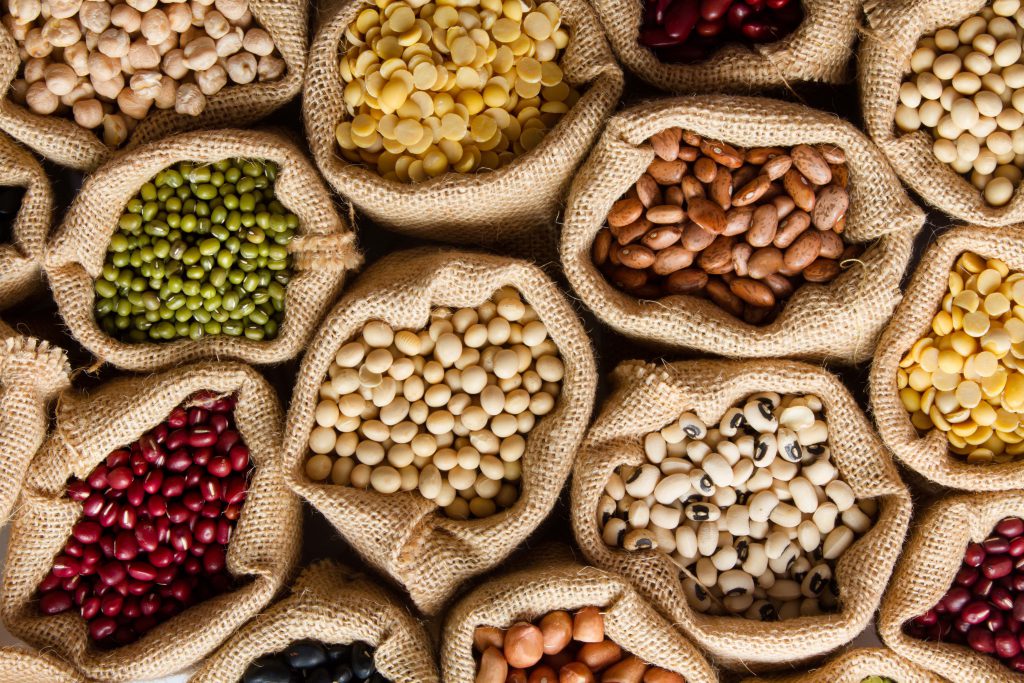
How to soak beans/legumes
Kidney, Navy, Black, Pinto, and White Beans: Place 2 cups of beans into a large mixing bowl and cover with warm filtered water. Stir in 2 pinches of baking soda. Cover and leave the bowl at room temperature, soaking for at least 18-24 hours. Every seven or so hours (if you remember), drain the beans, rinse the beans, cover them with warm filtered water, and stir in another two pinches of baking soda.
Drain, rinse, and cook in a large stockpot, dutch oven, or a slow cooker.
Garbanzo -Fava Beans, Split Peas: Place 2 cups of beans into a large mixing bowl and cover with warm filtered water. Stir in 2 tbsp of apple cider vinegar or lemon juice. Cover and leave the bowl at room temperature to soak for at least 24 hours.
Drain, rinse, and cook in a large stockpot, dutch oven, or a slow cooker.
Lentils: Place 2 cups of lentils into a large mixing bowl and cover with warm filtered water. Stir in 2 tbsp of apple cider vinegar or lemon juice. Cover and leave the bowl at room temperature to soak for at least 7 hours.
Drain, rinse, and cook in a large stockpot, dutch oven, or a slow cooker.
How to soak nuts and seeds
All Nuts And Seeds: Place 4 cups of raw, shelled nuts into a large mixing bowl. Cover with filtered water and stir in 1 tbsp of sea salt. Cover the bowl and leave it at room temperature to soak.
*See the chart below for specific soaking times.
Drain and rinse the nuts or seeds and place them in a dehydrator. | Alternatively, spread the nuts or seeds on a large baking sheet lined with unbleached parchment paper and dehydrate them in a warm oven (under 150 ˚F) for 12-24 hours, you want them to have that crunch. I usually let the nuts dehydrate overnight when I use the oven. |
Nut/seed soaking timetable:
| Almonds | 8-12 hours |
| Brazil Nuts | 4-6 hours |
| Cashews | 3-6 hours |
| Flaxseeds | 8 hours |
| Hazelnuts | 7-8 hours |
| Hempseeds | do not soak |
| Macadamia | do not soak |
| Pecans | 4-6 hours |
| Pepita/Pumpkin Seeds | 8 hours |
| Pistachios | do not soak |
| Pine Nuts | do not soak |
| Sesame Seeds | 7-8 hours |
| Sunflower Seed | 2-4 hours |
| Walnuts | 4 hours |
If you don’t have time to soak your nuts and seeds or are traveling, some great companies sell already-sprouted nuts and seeds to make life a little easier. Always check the ingredient list to avoid inflammatory vegetable oils used for the roasting process.
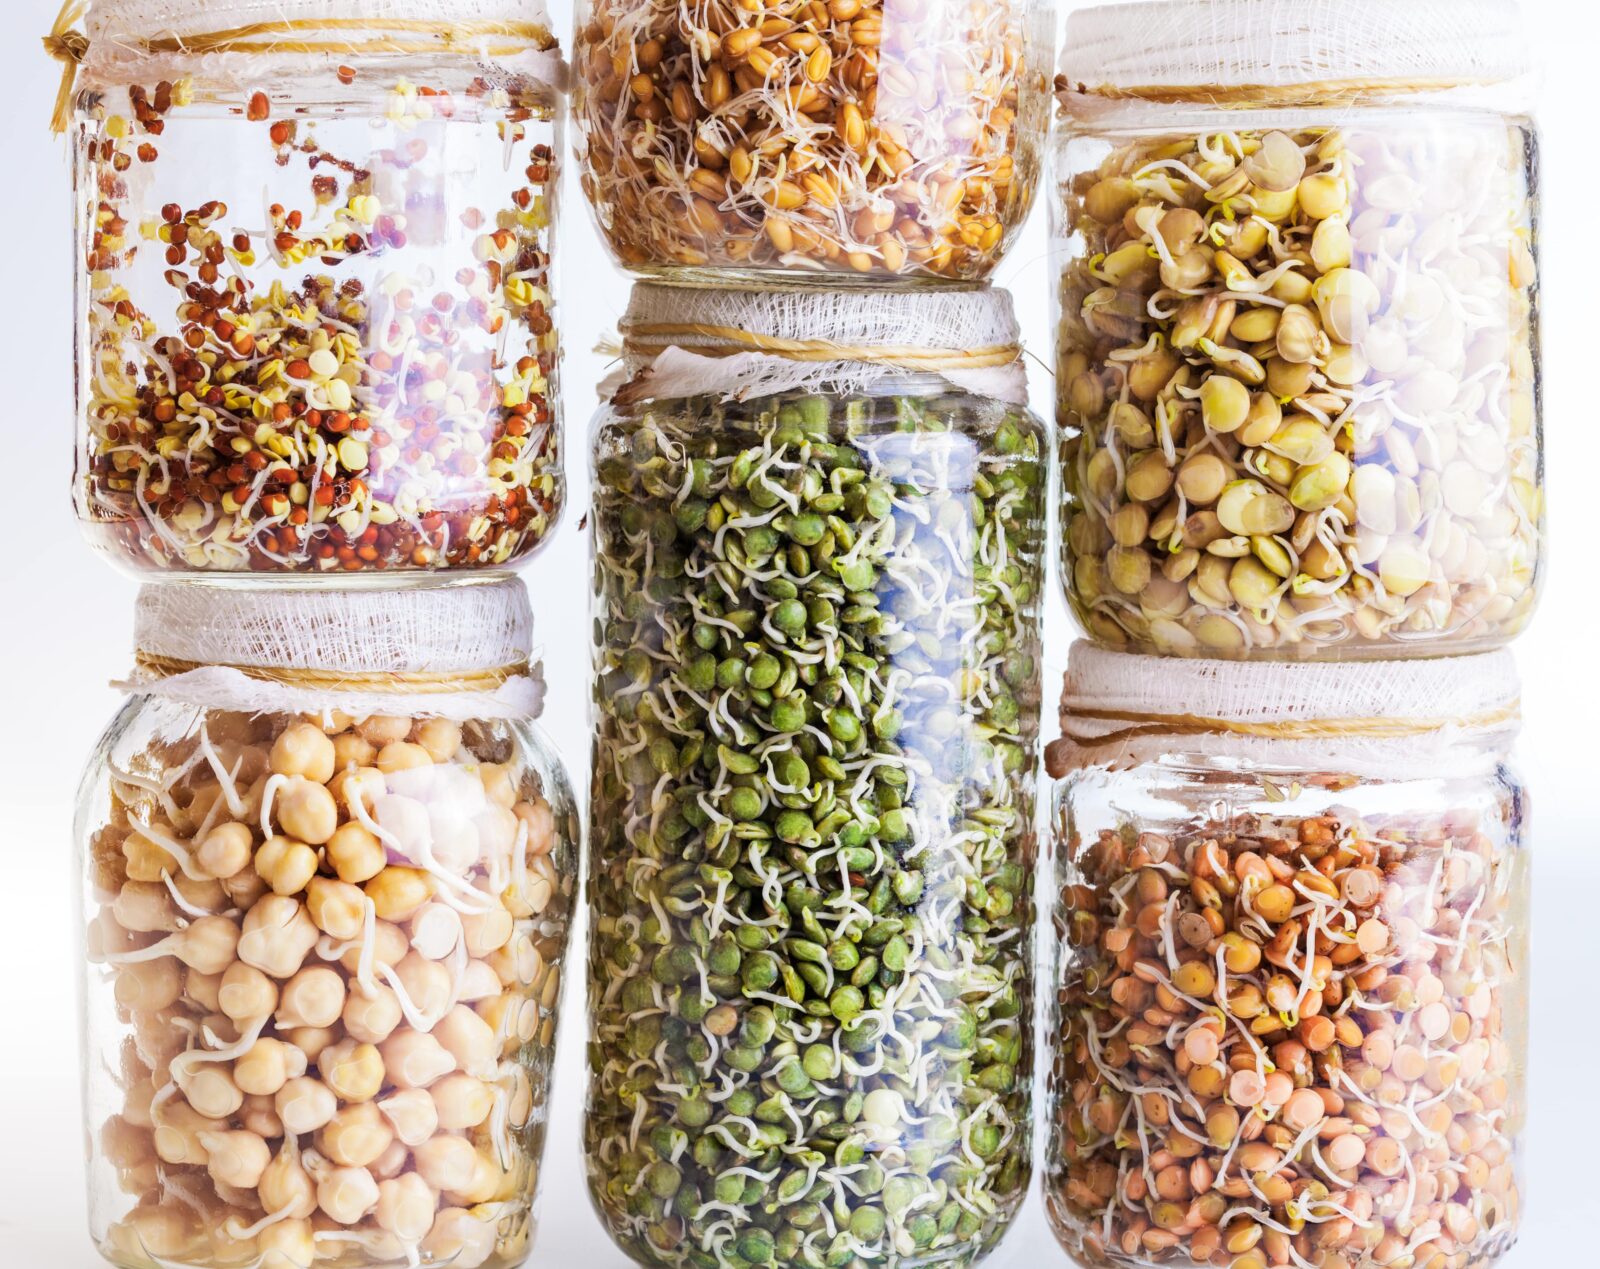
How to sprout grains, nuts, seeds, and legumes
There are four simple steps to sprouting grains, legumes, nuts, and seeds
Step 1: Using a large bowl, soak your grains, legumes, nuts, or seeds in water. Ensure the water is double the amount of the food being soaked. Leave at room temperature for the specified amount of time listed on the chart below. If you desire (and remember), you may rinse and change the water halfway through the soaking time.
Step 2: Drain the liquid, rinse, and fill the bowl with fresh water. Next, drain the fluid at an angle to create a humid environment (use a mesh lid on a mason jar). The goal is to keep the kernels moist until they sprout a bud. This happens when the kernels are exposed to light and moisture.
Step 3: Repeat step 2 every few hours at least twice daily.
Step 4: In 1-4 days, your sprouted grain, nut, bean, or seed should be ready to use.
Sprouting timetable:
| Adzuki | soaking: 8 hours | sprouting: 3-5 days |
| Alfalfa | soaking: 8 hours | sprouting: 2-5 days |
| Almonds | soaking: 8-12 hours | sprouting: 12 hours |
| Barley | soaking: 6-8 hours | sprouting: 2 days |
| Buckwheat | soaking: 15 minutes | sprouting: 1-2 days |
| Chickpeas | soaking: 12 hours | sprouting: 12 hours |
| Corn | soaking: 12 hours | sprouting: 2-3 days |
| Fenugreek | soaking: 8 hours | sprouting: 3-5 days |
| Kamut | soaking: 7 hours | sprouting: 2-3 days |
| Lentil | soaking: 8 hours | sprouting: 12 hours |
| Millet | soaking: 8 hours | sprouting: 2-3 days |
| Mung | soaking: 1 day | sprouting: 2-5 days |
| Oats | soaking: 6 hours | sprouting: 2-3 days |
| Pepita/Pumpkin Seed | soaking: 8 hours | sprouting: 1-2 days |
| Quinoa | soaking: 2 hours | sprouting: 1-2 days |
| Rice | soaking: 9 hours | sprouting: 3-5 days |
| Sesame Seed | soaking: 8 hours | sprouting: 1-2 days |
| Spelt & Rye | soaking: 8 hours | sprouting: 2-3 days |
| Sunflower Seeds | soaking: 2 hours | sprouting: 2-3 days |
| Wheat | soaking: 7 hours | sprouting: 2-3 days |
The proper and intentional preparation of nourishing foods is one of the missing keys to optimal health and wellness.
This guide will help show and teach you the simple steps to properly prepare grains, nuts, seeds, and legumes and the many health benefits you will reap when adding this simple and overlooked step.
Resources for further learning:
– Nourishing Traditions by Sally Fallon
Disclaimer: This post is not intended to provide medical advice, diagnosis, or treatment and is for educational purposes only.
*****
For pantry staples at discounted prices, check out Thrive Market and save 40% off your first order!
+ view comments