Last updated on January 31st, 2023 at 03:08 pm
People have been baking bread with sourdough starters for thousands of years. It is an ancient technique of properly preparing grains, which in our recent generations has been forgotten – but not to fret, I am here to help you bring back this ancient custom.
It is a lot easier than you may think (even though it sounds intimidating) let’s be real if I can do it, so can you. With a little bit of dedication, patience, and a week’s worth of consistent feedings you’ll have a beautiful (and homemade) leavening agent to use for all your baking needs.
A sourdough starter (ours is named Ophelia) is the gift that keeps on giving, always producing a little extra culture to use for your next loaf.
What is a sourdough starter?
A sourdough starter is a natural leavening that is responsible for the tangy flavor of sourdough loaves, and it also makes the loaf rise. This method of leavening has been used throughout human history – it is fascinating that commercial and processed baker yeasts only became available in the mid-19th-century, so it explains how this custom has become a lost art.
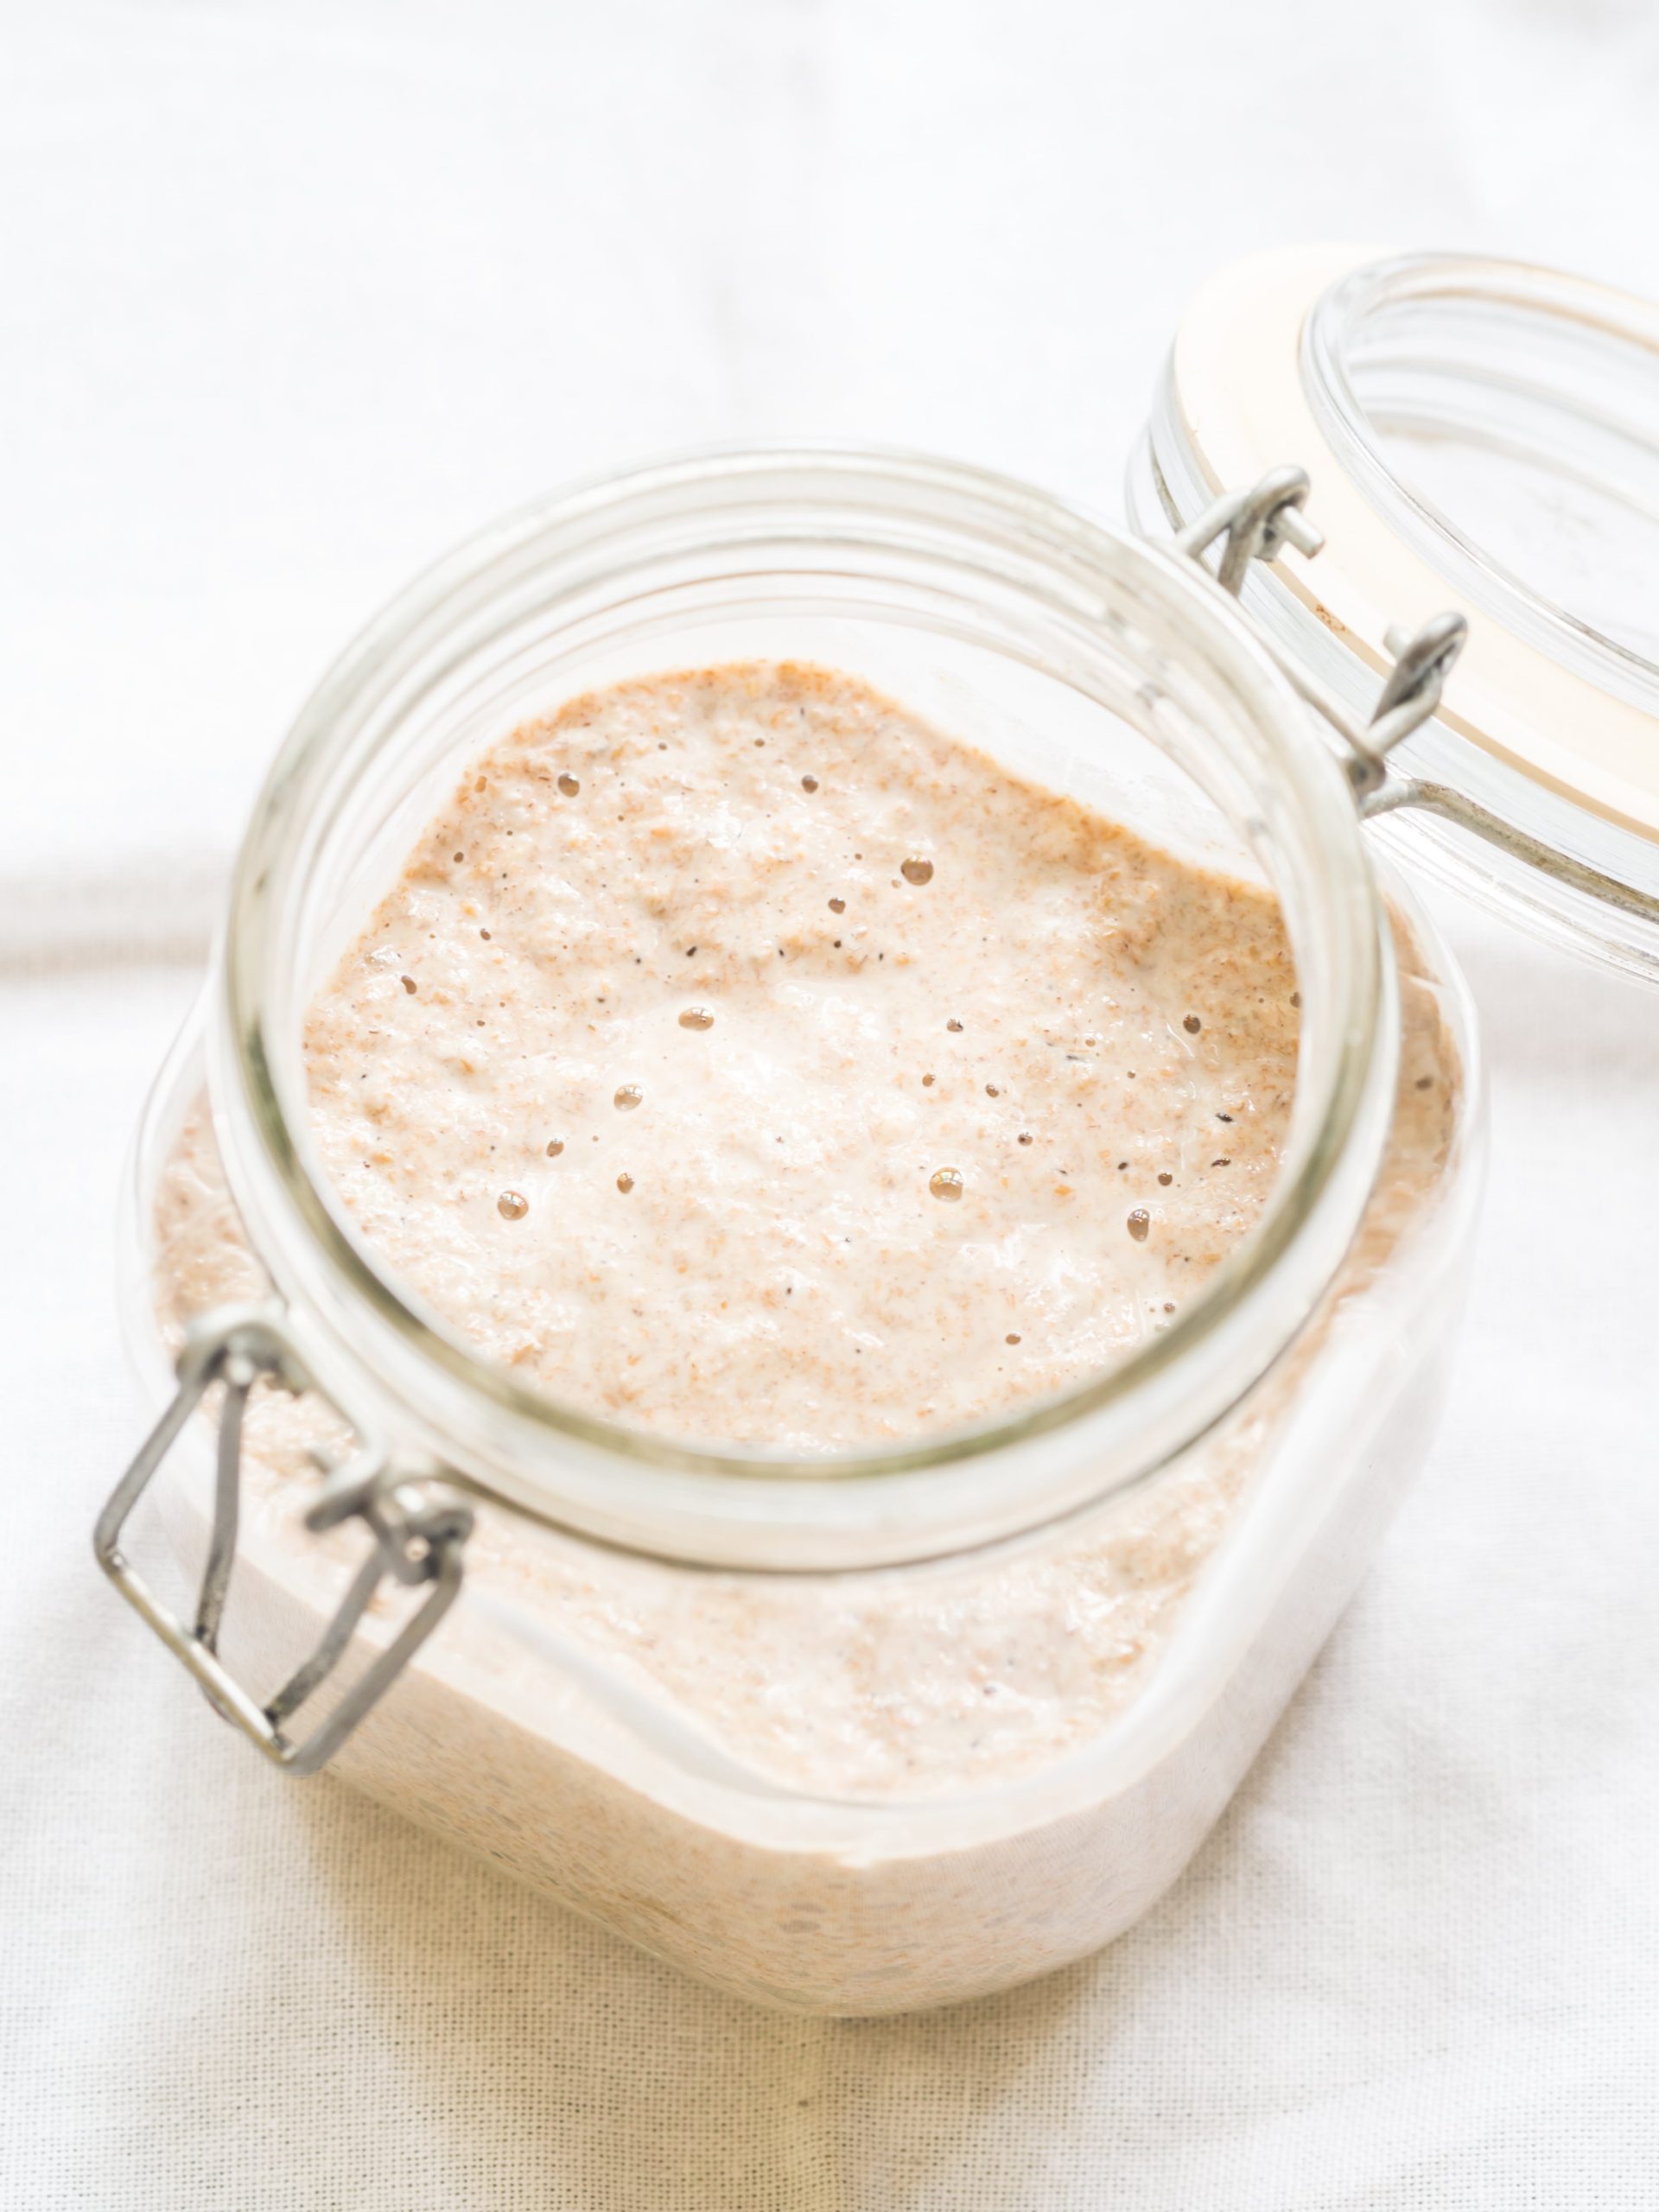
Sourdough starter is rich in beautiful live active cultures. These cultures include various strains of wild yeasts and lactic-acid-producing bacteria. These tiny organisms work together to make amazing loaves of nourishing bread.
How does a sourdough starter work?
It is actually pretty simple. Sourdough starter works by capturing and activating the naturally occurring wild yeasts and bacteria in the environment. When you add water to the flour you are using you are basically activating and encouraging these micrograms to multiply.
Over time, and with consistent “feedings” the bacteria and yeast will proliferate even more and become super active by creating bubbles in the starter. This is fermentation and it thrives in a wet environment. As these microorganisms grow they will eat the carbohydrates provided by the flour and release carbon dioxide, B-vitamins, natural acids, and other nutrients. This also makes the wheat and gluten from the flour far easier to properly digest.
The acids are what give the sourdough loaves their tangy and tart flavor and the carbon dioxide is what makes the loaf rise.
What is in a sourdough starter?
It is really simple – water and flour, that is it.
What do you need to make a sourdough starter?
♦ flour {eikorn or bread flour}
♦ clean filtered water (without chlorine)
♦ glass jar
♦ fork
♦ kitchen scale
This simple and traditional sourdough starter recipe takes a little bit of patience, dedication, and consistency – but will yield beautiful results.
With a little time and consistency you can maintain your sourdough starter indefinitely – in fact, it is not uncommon to find hundred-year-old sourdough starters in cultures like Italy that value ancient food preparation traditions.
Happy baking!
Easy Sourdough Starter Recipe
A simple sourdough starter recipe for all your baking needs.
DAILY:
- 50 grams flour
- 50 grams clean filtered water
Day 1:
-
Measure 50 grams of flour and 50 grams of water into your jar. Stir with a fork until well combines. Cover and leave at room temperature (away from direct light and heat) for 24 hours.
Day 2:
-
Set a clean jar on your kitchen scale and tare it. Measure 10 grams of sourdough starter into the jar. The leftover from the original jar is your discard.
Measure 50 grams of water, whisk the water into the starter with a fork, and then add 50 grams of flour. Cover the jar and leave for 24 hours.
Day 3:
-
On day 3 you should begin to see little bubbles or a slightly foamy appearance on the surface. If you don't – don't panic, just keep going.
Measure 10 grams of starter into a new jar, and discard the rest.
After whisk in another 50 grams of water and 50 grams of flour. Cover the jar and leave for 24 hours.
Day 4:
-
You may start to see bubbles on the surface and your starter may begin to slightly expand in the jar. This is a great indication that you may need to start feeding your starter twice a day.
In the morning: measure out 10 grams of starter into another jar and discard the rest, after discarding whisk in another 50 grams of water and 50 grams of flour. Cover and leave at room temperature.
In the evening- about 12 hours after the morning feeding: measure out 10 grams of starter into a jar and discard the rest, after discarding whisk in another 50 grams of water and 50 grams of flour. Cover and leave at room temperature.
Day 5:
-
The surface of your starter should be bubbly, and it may also expel some gas when you open the jar. There may also be evidence on the side of the jar that your starter is expanding.
In the morning: measure out 10 grams of starter into a jar and discard the rest, after discarding whisk in another 50 grams of water and 50 grams of flour. Cover and leave at room temperature.
In the evening- about 12 hours after the morning feeding: measure out 10 grams of starter into a jar and discard the rest, after discarding whisk in another 50 grams of water and 50 grams of flour. Cover and leave at room temperature.
Day 6:
-
Your starter should be nice and bubbly, with a slight hint of sour yeast and bread when smelling. It should also double in size within 12 hours of feeding.
Measure out 10 grams of starter into a jar and discard the rest. Whisk in 50 grams of water and 50 grams of flour.
If you have plans to bake today, wait until the starter doubles in volume and then follow your recipe instructions, but if you are planning to bake with it later, transfer the starter to the fridge.
Maintenance:
-
It is simple to maintain. Remove the starter from the fridge at least once a week. Measure out 10 grams of starter into a jar and discard the rest. Whisk in 50 grams of water and 50 grams of flour. Let it rise at room temperature for about 12 hours if you have plans to bake, if not simply transfer it back to the fridge.


+ view comments