Last updated on March 28th, 2023 at 06:36 pm
Garlic is one of the most common ingredients used worldwide and a pantry staple in many places. In fact, it is a very potent herbal medicine. Therefore, combining the fantastic nutrient properties with the fermentation process creates fermented garlic.
Garlic is exceptionally mineral-rich – a great source of vitamin C, vitamin B6, manganese, selenium, and antioxidants. In addition, it also contains allicin and diallyl sulfides. And sulfurous compounds have well-documented antibacterial and anti-fungal properties.
In short, some of the health benefits of garlic are:
- aids the circulatory system
- aids the digestive system
- boosts the immune system
- lowers blood pressure
- fights heart disease
- helps eliminate toxins
In short, garlic is an absolute superstar!
Garlic can be found in many forms – dried, fresh, powdered, minced, and even infused in oil. However, none have the same health benefits as fermented garlic.
Fermenting garlic makes all those minerals and other nutrients more bio-available for absorption during digestion. Most importantly, fermented garlic can be a great way to add probiotics to your diet.
The process of fermentation tends to intimidate most people, but don’t worry. The fermented garlic recipe I am about to share is straightforward, and you can do it blindfolded.
Everyone should include plenty of plain and fermented garlic to support heart health, digestive function, immune function, blood sugar regulation, and natural detoxification.
In short, all you need is a glass jar – whatever size you have on hand will work, some clean filtered water, sea salt, and a spot to let it sit and happily bubble for a few weeks.
Happy fermenting!
Fermented Garlic
This is a simple and effective way to increase probiotic-rich foods in your diet.
- 1 glass jar
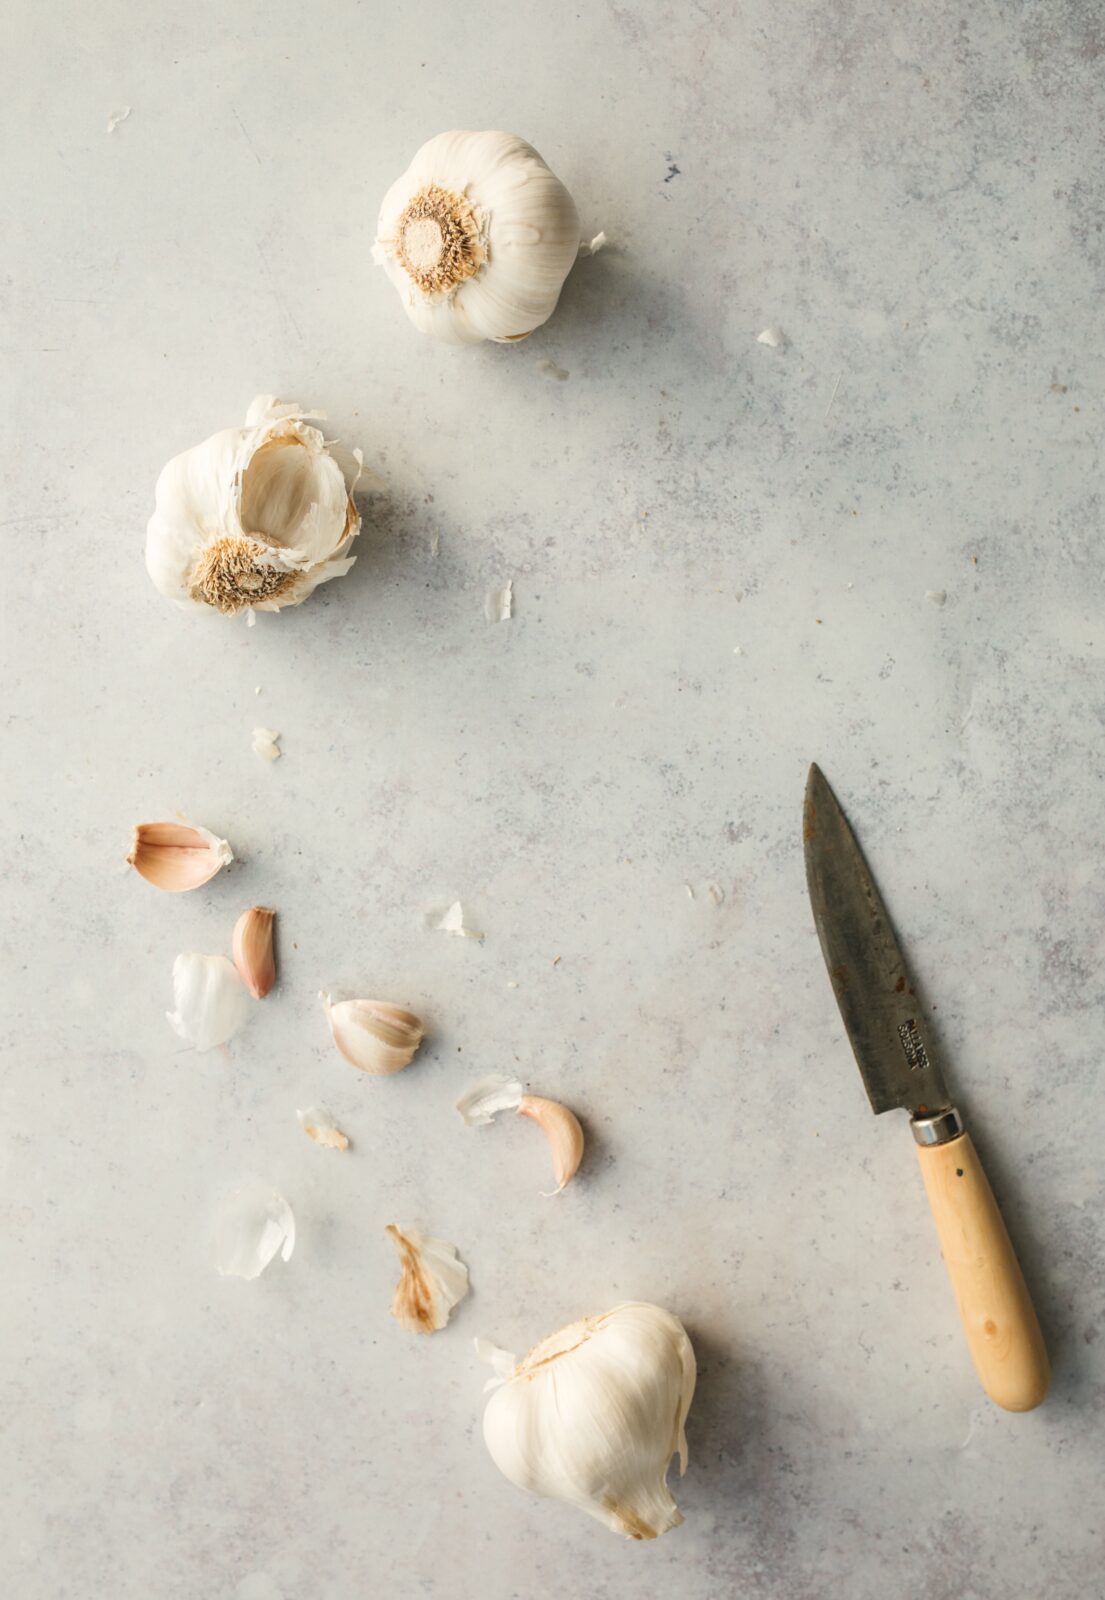
- 5 heads of garlic, peeled
- filter and non-chlorinated water
- sea salt
-
Peel as many cloves as necessary to fill up the jar that you are using.
-
Next, create the salt brine by dissolving the salt in the water. You want to use 1/2 tsp of sea salt per 1 cup of water. Do the math to determine how much you need for your specific jar size.
-
Add the brine to the jar, covering all the garlic cloves. A fermenting weight can be helpful to keep the garlic cloves submerged in the brine.
-
Loosely put the lid on the jar and put it on the kitchen counter. Open the jar once a day to release some of the fermentation pressure (it will smell very strong and get stronger as the fermentation gets going.)
-
It will take anywhere from a few days to a week for the fermentation to begin. An easy way to tell is when you see tiny bubbles in the brine. After some time, the brine will take on a gorgeous golden-brown color. Let the garlic ferment for at least one month, but the best and most mellow flavor comes from a 2-month fermentation.
-
Once you decide the process is complete, screw the lid on firmly and store your fermented garlic in the refrigerator.
-
You can now use your fermented garlic cloves as you would use regular garlic cloves. | 1 fermented garlic clove is as good as two regular garlic cloves.
Disclaimer: This post is not intended to provide medical advice, diagnosis, or treatment and is for educational purposes only.
*****
Use code “NURTUREMEWILD” at checkout to save 15% off your first order at Crucial Four!


+ view comments